Getting started
This tutorial should take 20 minutes. It will cover the basics of using the tool using the example tiles that come with the asset; you won't need anything more than Unity and a license for Wildtile.
We will import a tileset and start editing a level using it.
Installing Wildtile
If you haven't already, you will need to buy the Wildtile asset from the Unity Asset Store.
Wildtile uses the standard flow for installing packages from the Asset Store.
Once bought, it will appear in the Unity Editor Package Manager.
In Unity, select Window→Package Manager.
In the package manager, click on the Packages drop-down button and select My Assets to view your purchased assets.
If you cannot see Wildtile in the left list, you can search for it using the text box in the top right.
Once you have found and clicked on Wildtile, click on Download in the bottom right. After downloading, this button will change to Import. Click it again to import the package into your project. Import the whole project, including the examples folders. We will be using models from the examples later in this tutorial.
Installing Render Pipeline Support
Wildtile supports all three Unity render pipelines. The out-of-the-box Wildtile install is configured to support the Built-in Render Pipeline, but when you first install Wildtile it will check which render pipeline you use. If your project uses URP or HDRP then Wildtile will offer to start supporting the relevant render pipeline. Normally, clicking Install will install the correct support, or you can cancel installing the extra support if Wildtile has chosen an incorrect render pipeline.
Note
If you would like to preview the support files before installing them you can double click on the pipeline support packages at Assets/CarbideFunction/Wildtile/Support/. Unity will open a window that lists the support files, with an option to import them.
Alternatively, you can click on the menu bar Edit→Project Settings to open the Project Settings window, then select Wildtile→installer→Rerun installer to force Wildtile to check the render pipeline again and offer to install the relevant support. This is useful if you've migrated from the Built-in Render Pipeline to either of the other pipelines.
Setting up the Tileset
Creating the Importer and the Tileset assets
The importer stores information about how Wildtile should import your models so that you can edit the model externally and reimport it reliably. The importer asset typically does not need to be delivered with your built game (Unity will automatically ignore it as long as nothing is referencing it).
The tileset asset stores the processed information about how the models fit together. Unity will include the tileset asset when building your game if you use the GridPlacer component.
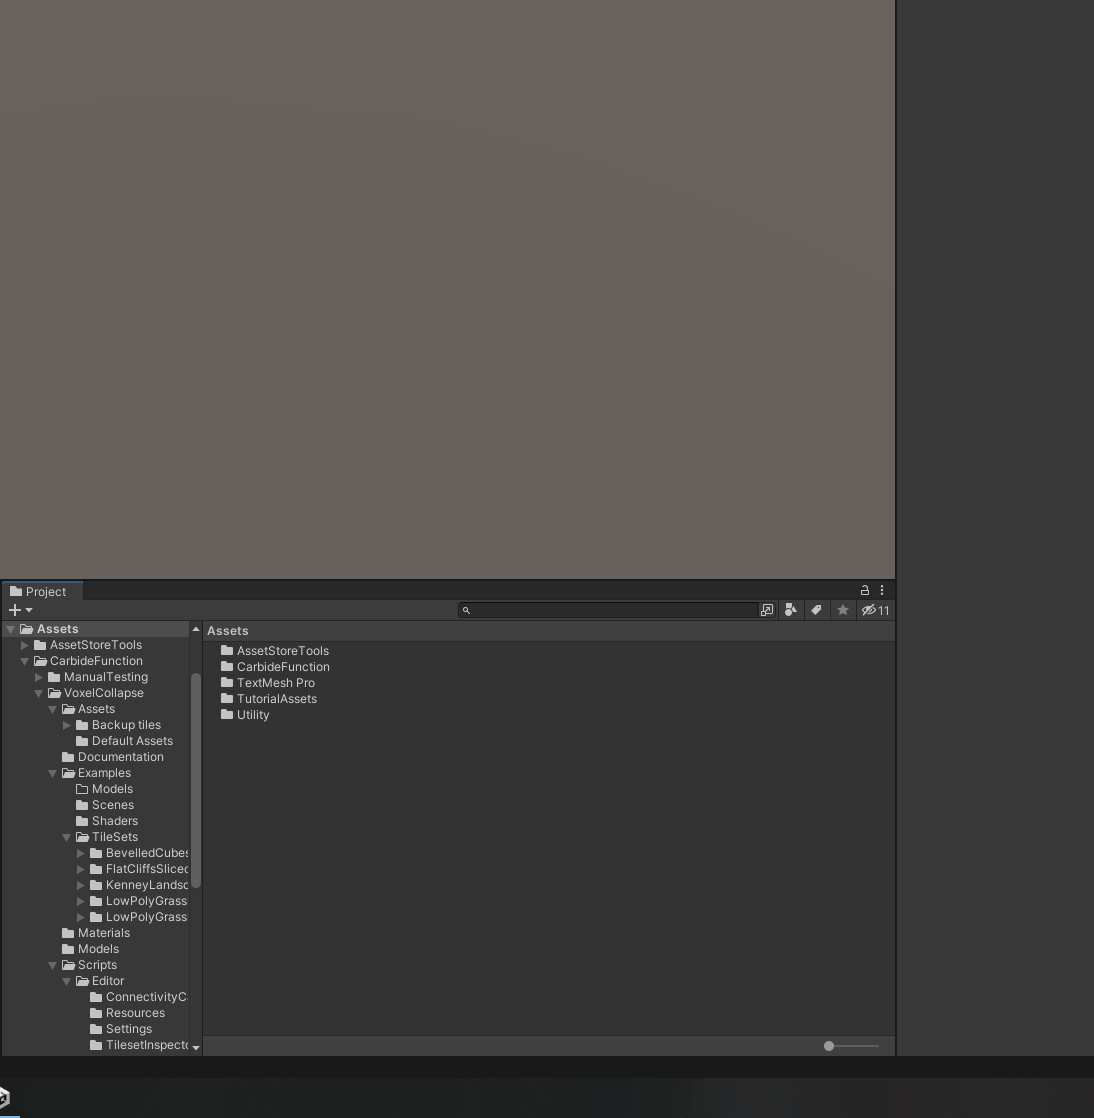
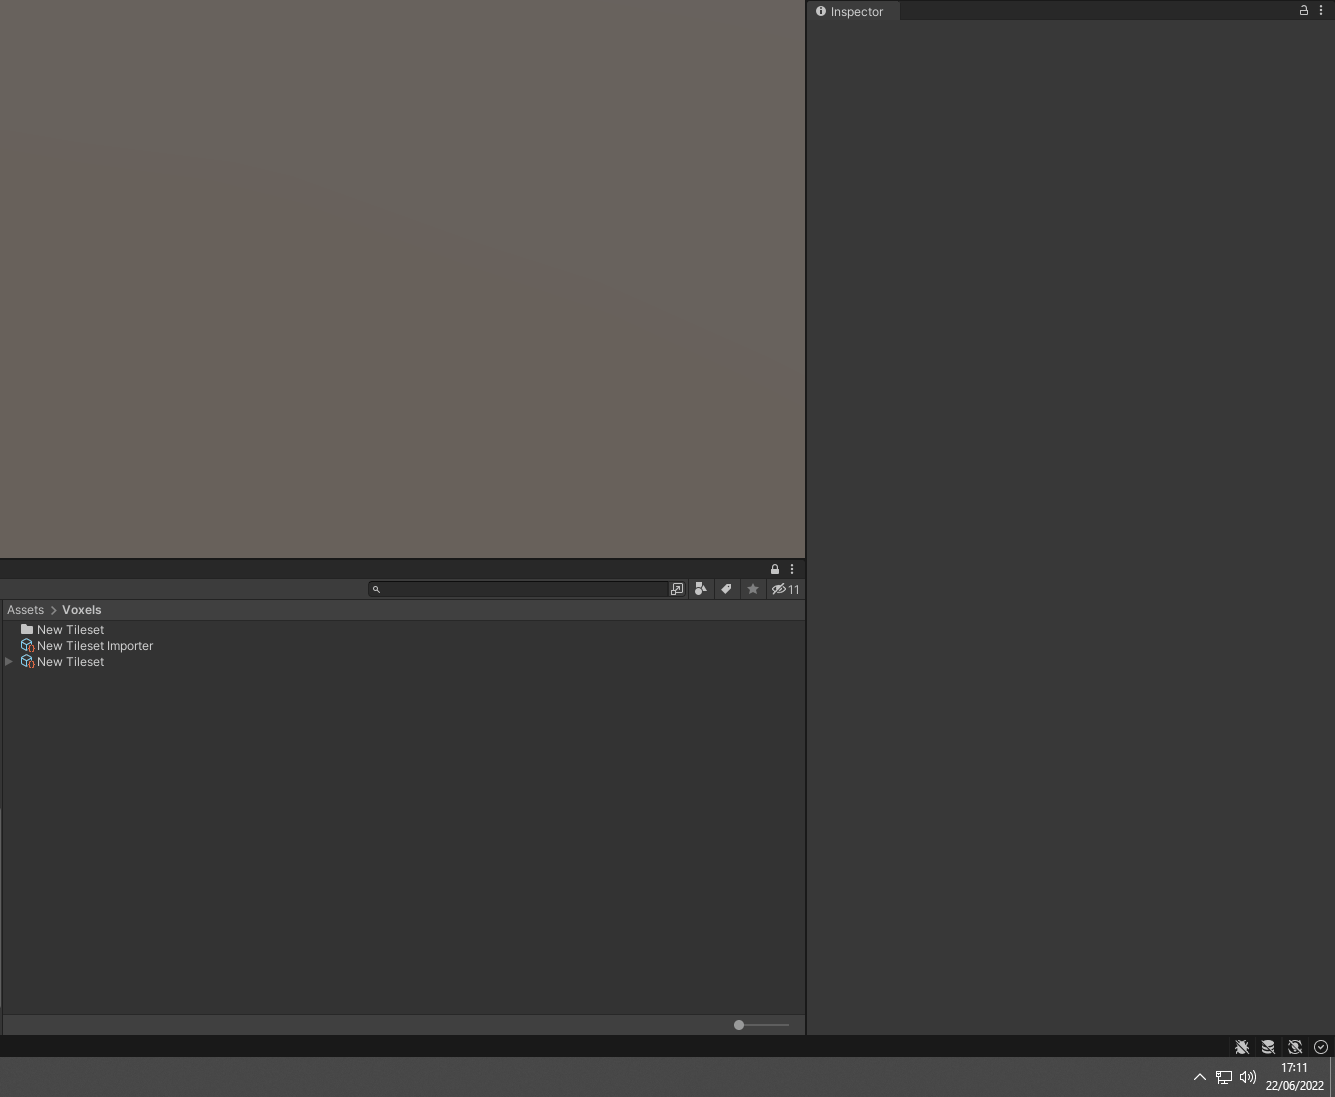
In the Project window, navigate to Assets, right-click anywhere in the right window, and select Create→Folder. Name this folder Voxels, then double click on the new folder to open it.
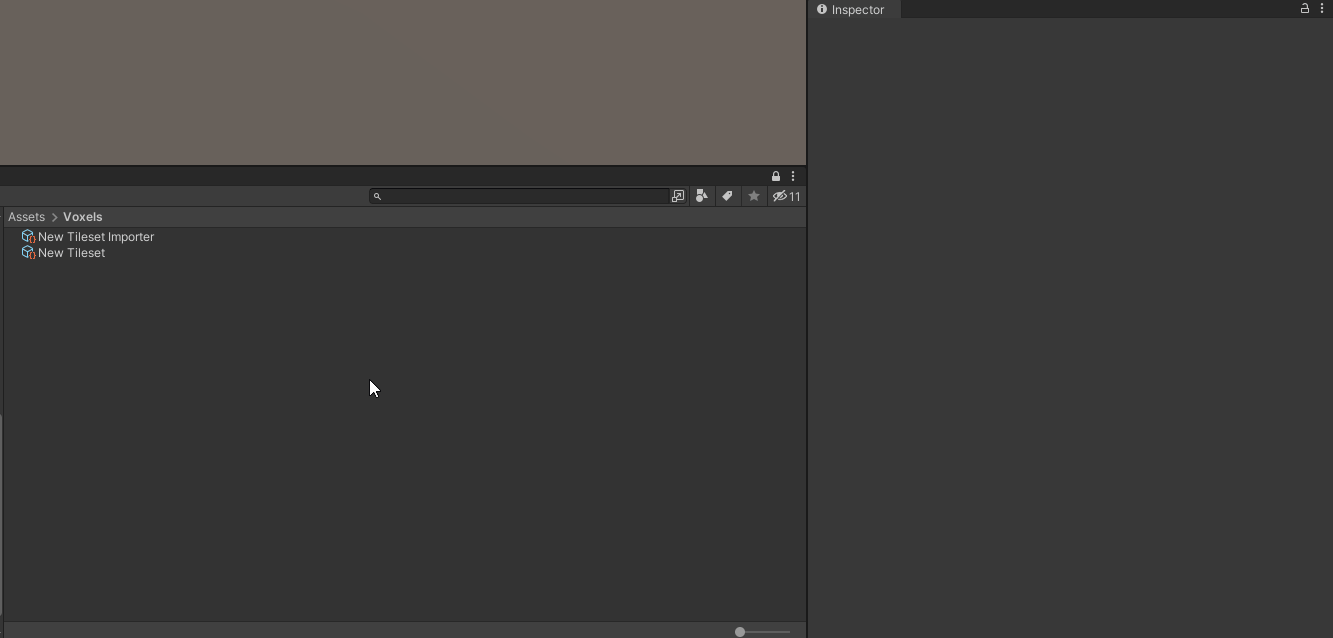
Right-click on the project window and select Create→Wildtile→Tileset Importer to create the importer. Then, right-click again and select Create→Wildtile→Tileset to create the tileset.
Note
Tileset assets are included in built games; importer assets are not. You may wish to separate them when you use them in your actual project.
Linking the assets
Select the importer asset in the project window to view the settings in the inspector window. Next, drag the tileset asset from the project window to the Destination Tileset field in the inspector. This field tells the importer to store the imported tiles and markup.
In the inspector window, click the target icon at the right of Source Model to open a selection window. In this window, find and click the marching cubes asset. The importer constructs tiles from the submodels in this model asset.
Setting these two fields enabled one-click reimporting. Click on the Process models button to start the import process.
Note
The import process will take a second or two (depending on your computer). As your tilesets grow, you may need to wait longer when reimporting.
Creating a map asset
Finally, we will need a voxel grid to use as a map. Create a voxel grid asset by right-clicking in the project window and selecting Create→Wildtile→Voxel Grid.
Note
The map is a distinct asset, separate from the scene. This split allows you to share maps between different scenes and grants you granular access in source control, allowing more developers to work together on the same project.
Select the new voxel grid asset and change the dimensions to (10, 3, 10).
These dimensions are the size of the voxel grid. When using the GridPlacer component, the generated model grid will be 1 unit greater in every dimension. In this case, the placer will generate models in an 11×4×11 grid.
Caution
Resizing the grid to smaller dimensions will lose any voxels stored in the area outside the new dimensions.
Setting up the Scene
Creating the Tilemap Game Object
Now that the tileset and the map are ready, you can start using them in your scene.
Create an empty game object in your scene by right-clicking in the hierarchy window and selecting Create Empty.
The new object should be automatically selected when you create it - ensure you can see it in the properties window.
In that properties window, click the Add Component button and select Grid Placer (you can also type "Grid Placer" into the search bar to quickly find it).
This will add a blank GridPlacer component to your game object.
Find the Tileset and Map properties in the grid placer's properties. Drag your voxel grid asset from the project window to the Map property and your tileset asset to the Tileset property.

Nothing will happen yet, even if you click Force map rebuild, because the map starts empty.
Editing the Map
Make sure the object with the GridPlacer component is selected. Press U to start the voxel editing tool. Press W to return to standard view.
Note
If, at any time, you wish to exit the voxel editor tool, press W. This will select Unity's built-in translate tool, shutting down the voxel editor tool.
Pressing W will never affect your scene or the voxel grid.
You can also select any other tool or deselect the current object in the hierarchy window to turn off the voxel editing tool. These are 100% safe ways of exiting the tool.
Press U again to enter the voxel editing tool. Unity will show the inside of a cuboid grid. You can click on grid squares to build outward, and then click on the new voxels to continue building out from them.
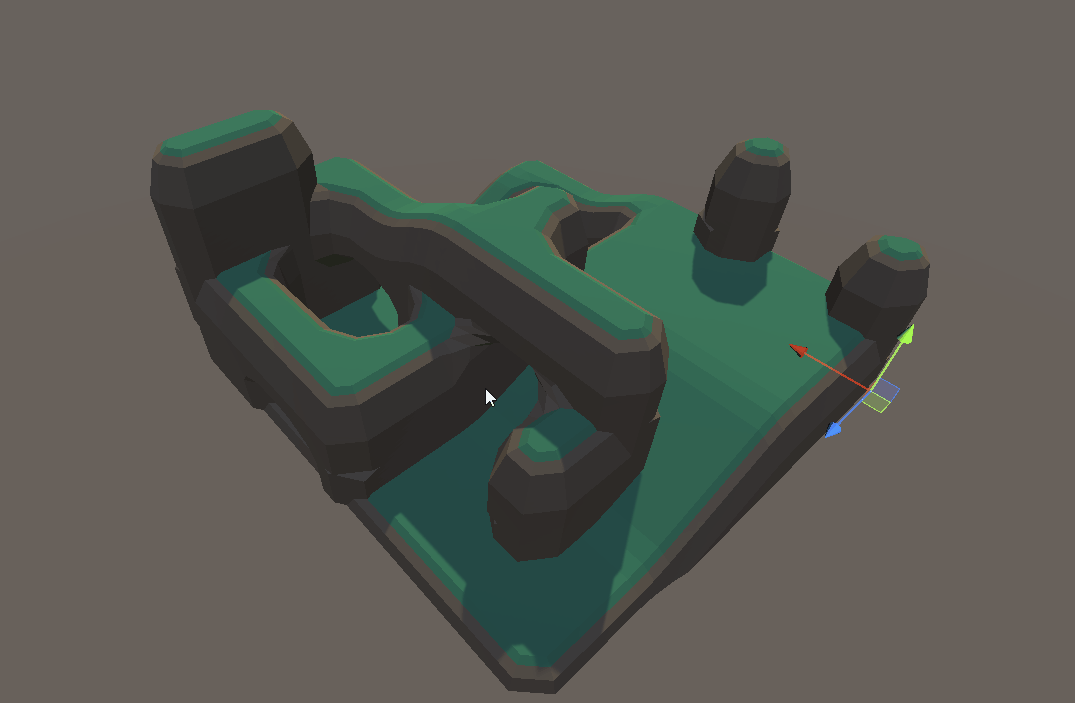
Once you have created a voxel map you are happy with, press W to exit the editor tool and immediately generate a mesh that glues the tileset together in the shape of your voxel grid.
Enter the tool again, hold control and click on the voxel you created. This will erase the voxel.

You can continue to iteratively build the map by entering the tool, making some changes, and exiting again to see how it has changed the output model.